

⚙️ Component Features
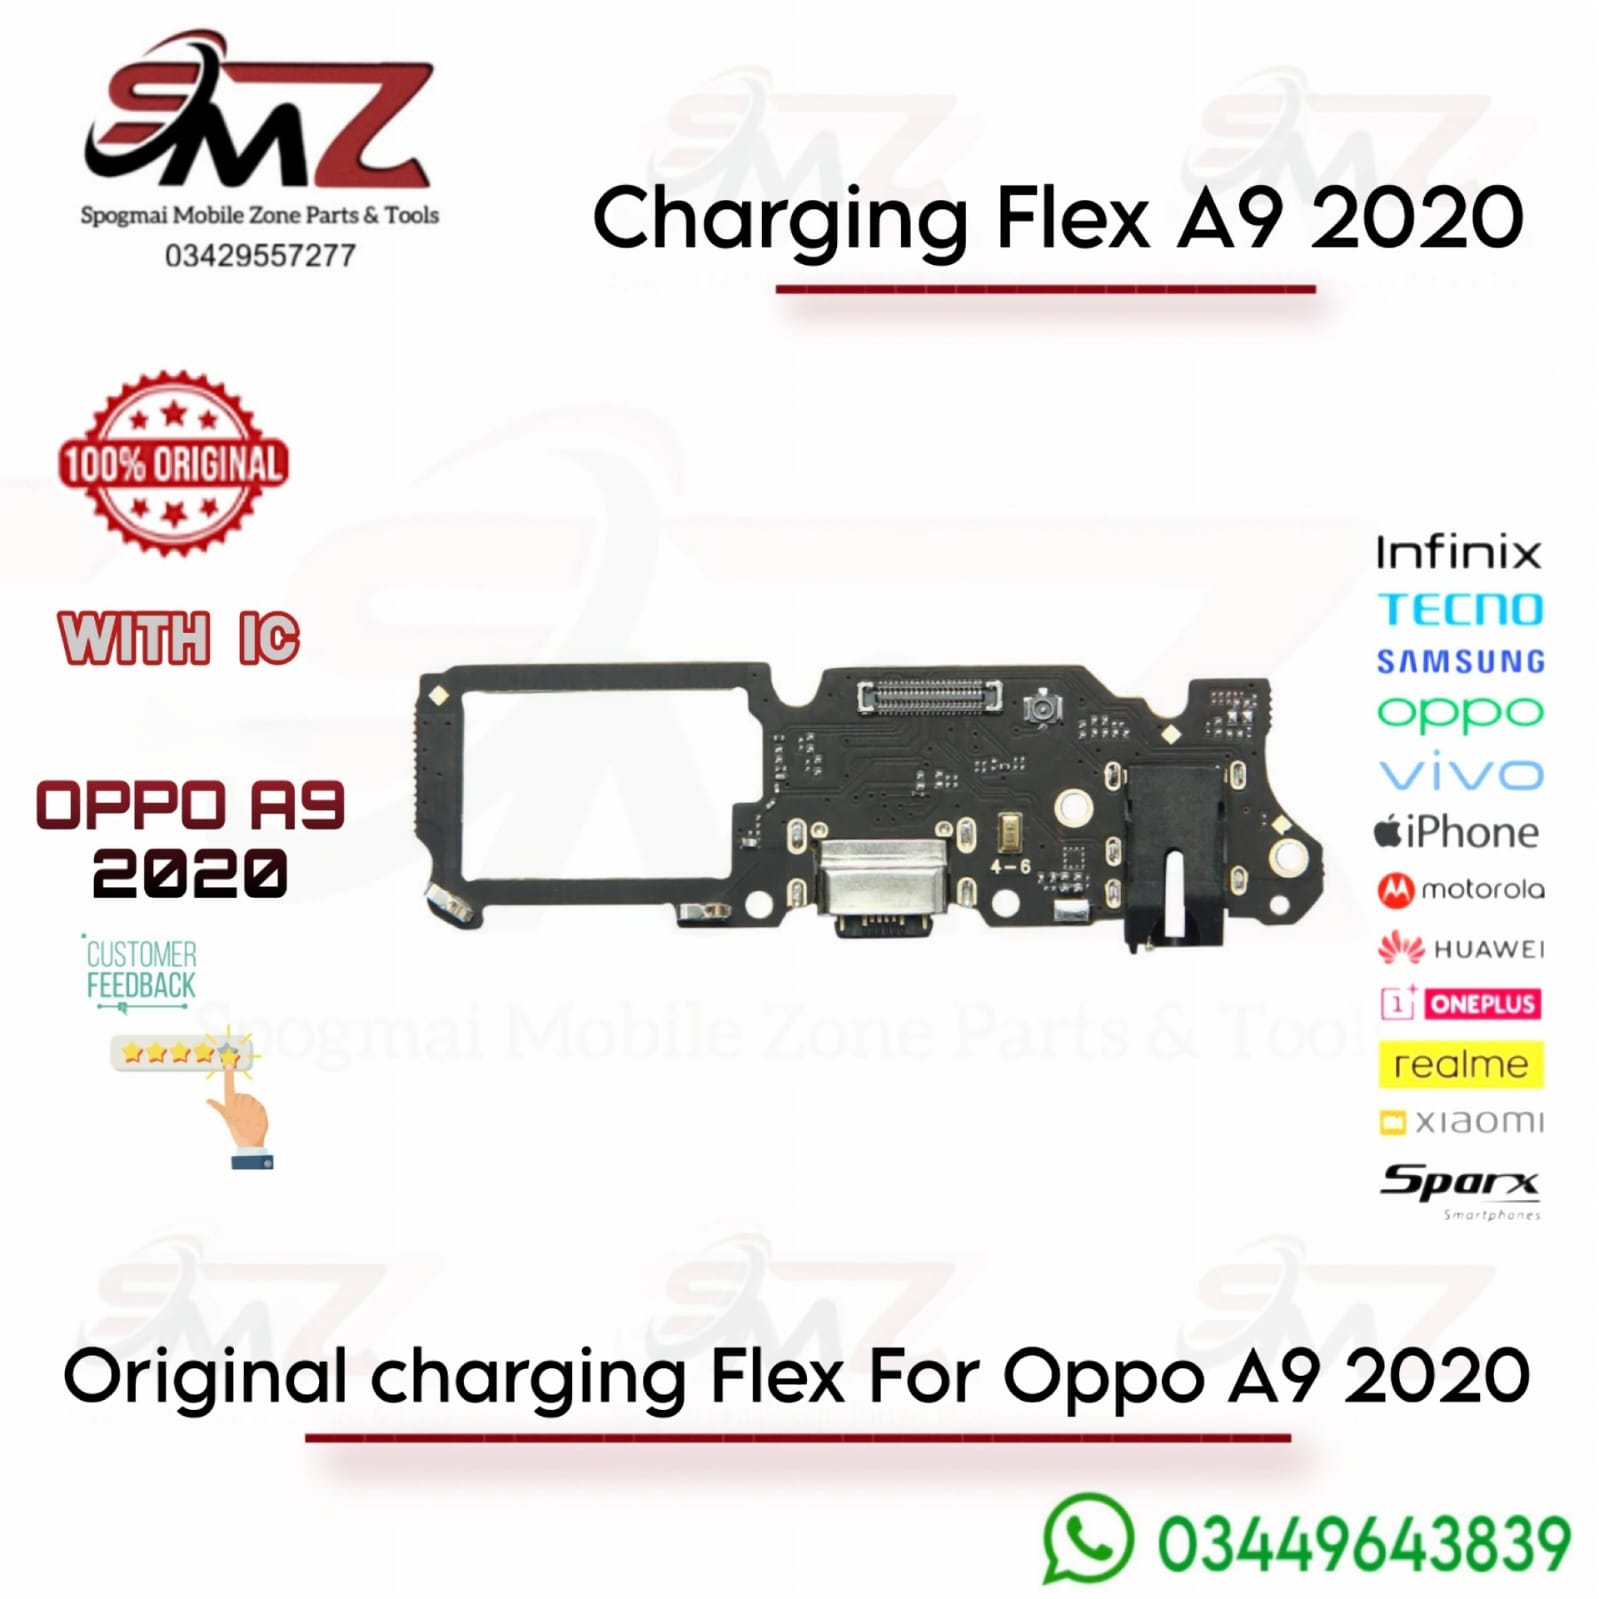
A complete sub-board assembly contains multiple interconnected parts:
- USB Type-C Port: Restores fast charging functionality and OTG data connectivity.
- Built-in Microphone: Resolves voice issues where people cannot hear you during calls.
- Antenna Terminal: Connects to the cellular signal coaxial cable.
- Headphone Jack Interlock: Often houses the contacts or connects directly to the 3.5mm headphone assembly.
🛠️ DIY Replacement Overview
Replacing the flex board requires patience but does not require soldering. Here is the sequential process:
- Open the Housing: Power down the phone. Heat the back cover evenly for several minutes to soften the adhesive, then use a thin plastic pick to separate the back pane.
- Disconnect the Fingerprint Sensor: Gently lift the back cover, then unclip the delicate fingerprint sensor ribbon cable to avoid tearing it.
- Unscrew the Mid-frame: Remove all visible Philips-head screws securing the inner plastic shield and the lower loudspeaker block.
- Remove the Loudspeaker: Take out the lower speaker module to reveal the charging PCB underneath.
- Swap the Board: Unplug the main motherboard flex ribbon and the thin white network antenna wire from the old sub-board. Swap in the new flex board, reconnect the cables carefully, and reassemble the phone.

Reviews
There are no reviews yet.