

⚙️ Integrated Components on the Flex
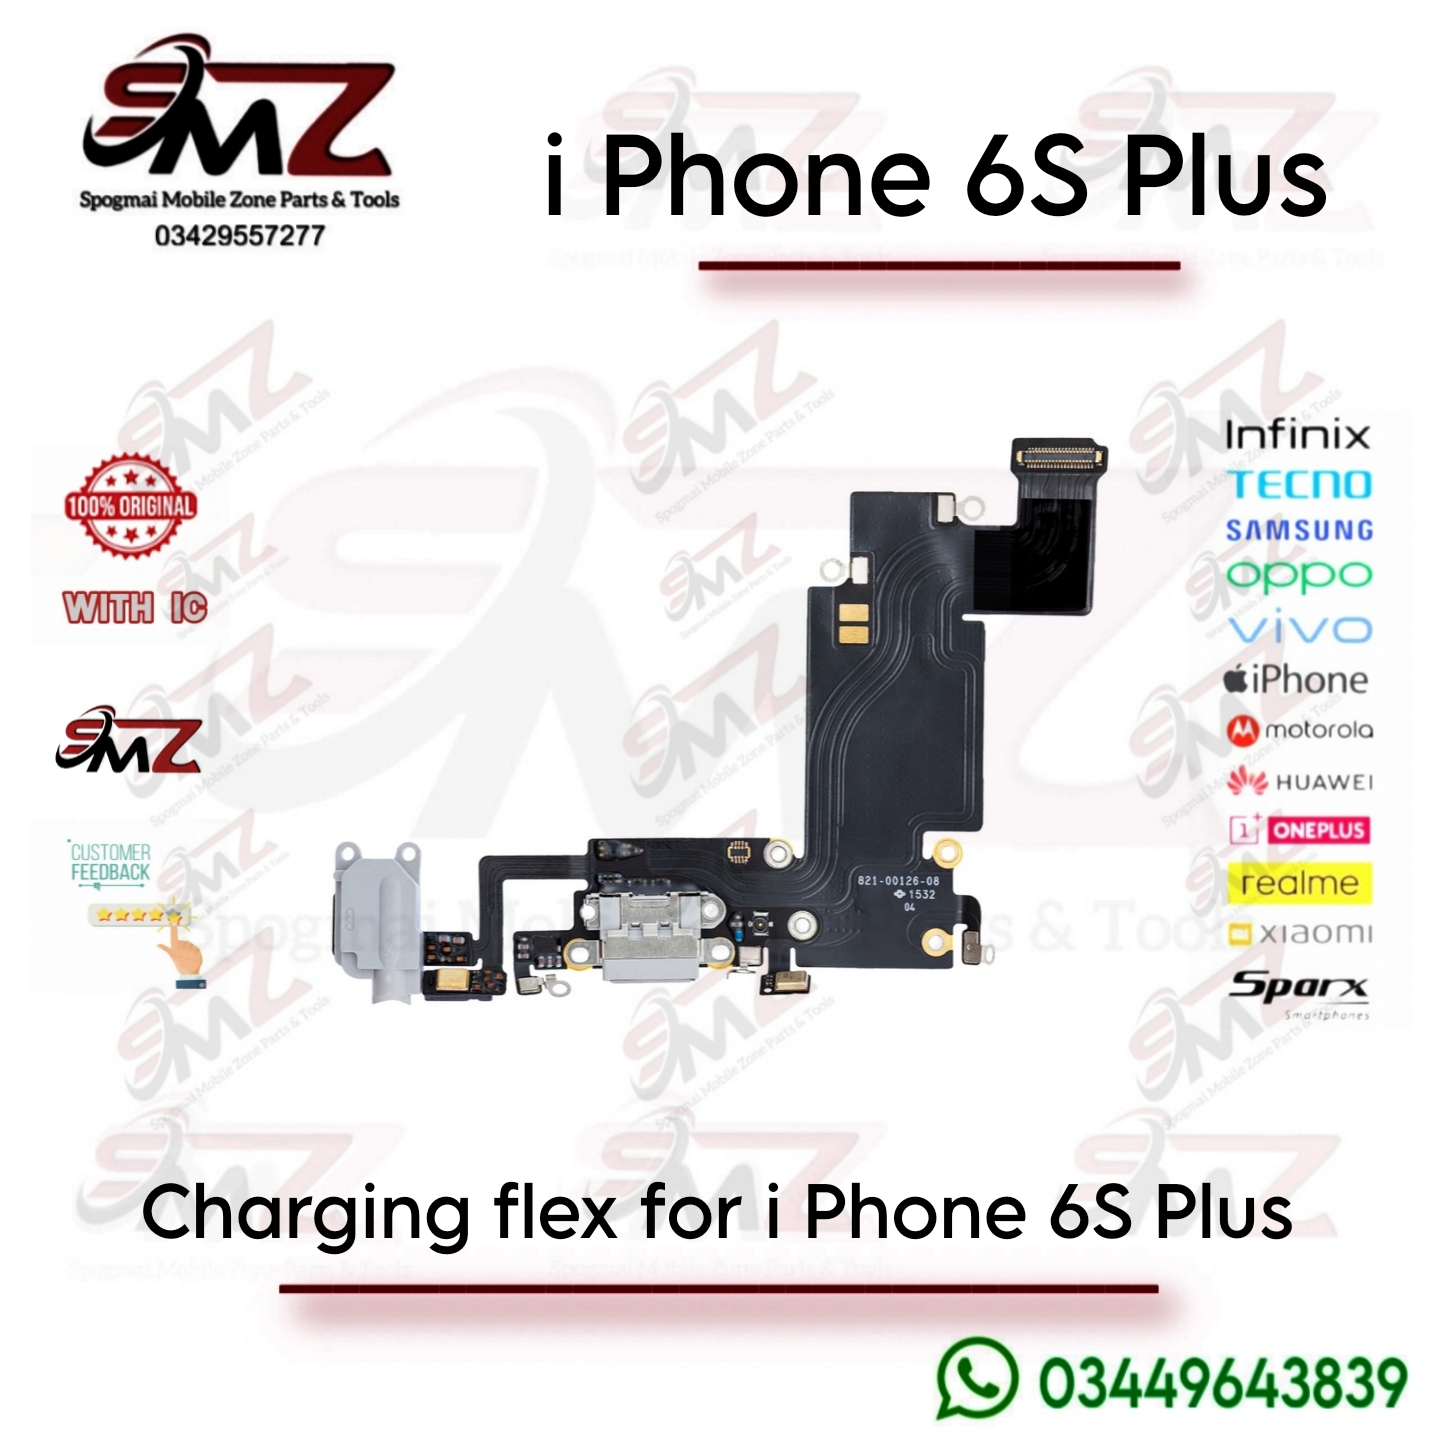
When you replace this single part, you are replacing all of the following components simultaneously:
- Lightning Connector: The main port used for charging the phone and syncing data via computer connection.
- Primary Internal Microphone: Captures your voice during standard phone calls and voice recordings.
- 3.5mm Headphone Jack: The physical auxiliary audio port for headphones and auxiliary cables.
- Antenna Contacts: Connects the phone’s logic board to the lower cellular antenna array and the coaxial cable.
- Spring Contacts: Interfaces directly to power and ground the Loudspeaker and Taptic Engine (vibrator motor).
🛑 Symptoms of a Failing Flex Cable
If this assembly is broken, damaged, or suffering from wear and tear, you will experience one or more of the following issues:
- Charging failures: The phone won’t charge at all, or only charges intermittently when the cord is held at a specific angle.
- Data syncing issues: The iPhone is not recognized by a computer or iTunes when plugged in.
- Microphone malfunction: People cannot hear you during standard phone calls, or your recorded voice notes are completely silent/static.
- Headphone Jack issues: No sound from headphones, audio only playing out of one ear, or the phone constantly thinking headphones are plugged in.
- Signal dropping: Poor cellular reception due to broken contact points with the lower antenna.
🛠️ Hardware Specifications & Compatibility
- Model Compatibility: It is exclusively compatible with iPhone 6S Plus models (A1634, A1687, A1690, A1699).
- Important Constraint: It cannot be swapped with an iPhone 6 Plus, iPhone 6S, or iPhone 7 Plus cable. The connectors, physical dimensions, and screw layouts are entirely different.
- Color Matching: The flex is manufactured in three primary color variants: Dark Gray/Black (for Space Gray phones), White/Silver (for Silver/Rose Gold/Gold phones), and Gold. While a mismatch won’t affect performance, matching the color ensures the interior mesh of your charging port and headphone jack matches the original look of your screen bezel.
💡 DIY Repair Considerations
Replacing this part requires a moderate-to-high level of technical skill. Because it sits at the absolute bottom of the chassis, you have to gut several layers of the phone to reach it.
- The Disassembly Hurdle: You must safely pry open the screen (loosening the display adhesive), completely disconnect the battery, remove the display assembly, and pull out both the Taptic Engine and the Loudspeaker before you can peel up the charging flex.
- Screw Management: The repair involves removing more than a dozen tiny screws of completely different lengths and widths. Putting a long screw into a short screw hole can pierce the logic board and permanently destroy the phone. Utilizing a magnetic project mat to track screw placement is highly recommended.
- Fragility: The replacement flex ribbon is incredibly thin. Pulling too hard or bending it at sharp angles during installation can tear the internal copper traces, rendering the new part instantly defective.


Reviews
There are no reviews yet.