

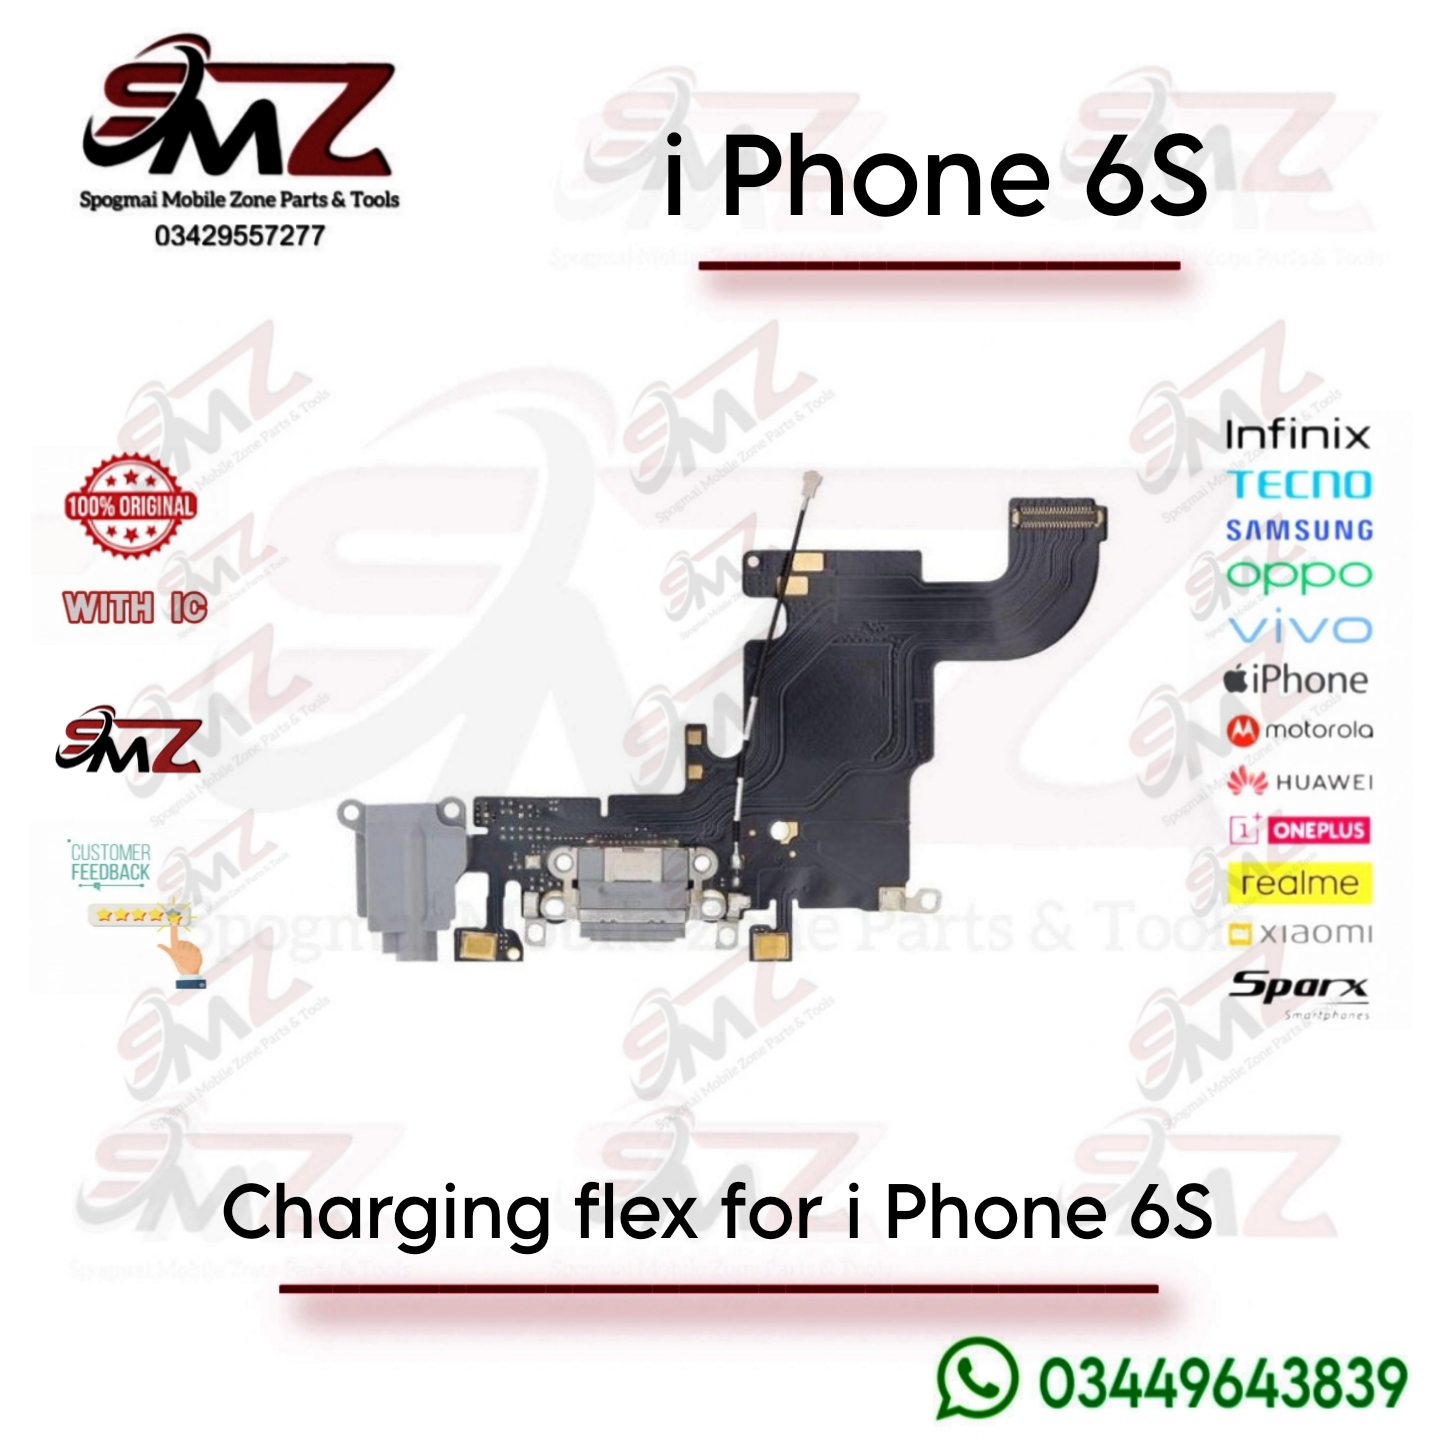
1. Integrated Components
The charging flex ribbon is an all-in-one assembly. If you replace this part, you replace all of the following components simultaneously:
-
- Lightning Connector: The main port used for charging the phone and syncing data with a computer.
- Primary Microphone: Responsible for capturing your voice during standard cellular phone calls.
- 3.5mm Headphone Jack: The physical audio port for connecting auxiliary cables and wired headphones.
- Antenna Contacts: Metal connection pads that ground and link the logic board to the lower cellular antenna band embedded in the phone’s frame.
- Loudspeaker & Taptic Engine Contacts: Spring contacts that supply electrical signals to power the lower loudspeaker and the Taptic Engine (vibrator).
2. Common Symptoms of Failure
Because this single flex cable controls multiple features, damage to it can cause a variety of symptoms:
-
- The phone fails to charge, or you must hold the cable at a specific angle to get a connection.
- iTunes or a computer fails to recognize the phone when plugged in.
- People cannot hear you during normal phone calls (faulty microphone), though Speakerphone or FaceTime might still work because they use top-mounted microphones.
- Headphones plugged into the auxiliary jack register static, play audio through only one side, or are not detected at all.
3. Compatibility Warning
-
- Model Specificity: The iPhone 6s charging flex is strictly compatible only with the iPhone 6s.
- Incompatibility: It cannot be swapped with an iPhone 6, 6 Plus, or 6s Plus charging flex. The mounting brackets, internal screw alignments, and logic board connection points differ slightly between these models, meaning a wrong part will not physically fit or connect.
- Color Matching: The replacement parts come matched to the bezel color of your device (typically Light Grey, Dark Grey/Black, or White) so that the interior color visible inside the headphone jack and charging port matches your original phone aesthetics.
4. Technical Repair Overview
Replacing this component requires moderate DIY hardware experience. No soldering is required, as the unit is completely modular and plugs directly into the logic board.
- Tools Needed: Pentalobe screwdriver (for base screws), Phillips #000 screwdriver, plastic spudger/pry tools, suction cup, and replacement adhesive.
- Key Steps:
- Remove the bottom two pentalobe screws.
- Lift the screen carefully, keeping it under a 90-degree angle to avoid ripping display cables.
- Disconnect the battery and completely remove the screen assembly.
- Unscrew and pull out the loudspeaker and Taptic Engine to reveal the flex cable underneath.
- Peel the strongly adhered original flex cable off the aluminum rear housing, lay down the new one, and rebuild the components in reverse.

Reviews
There are no reviews yet.