
1. Integrated Components (What is on the Flex?)
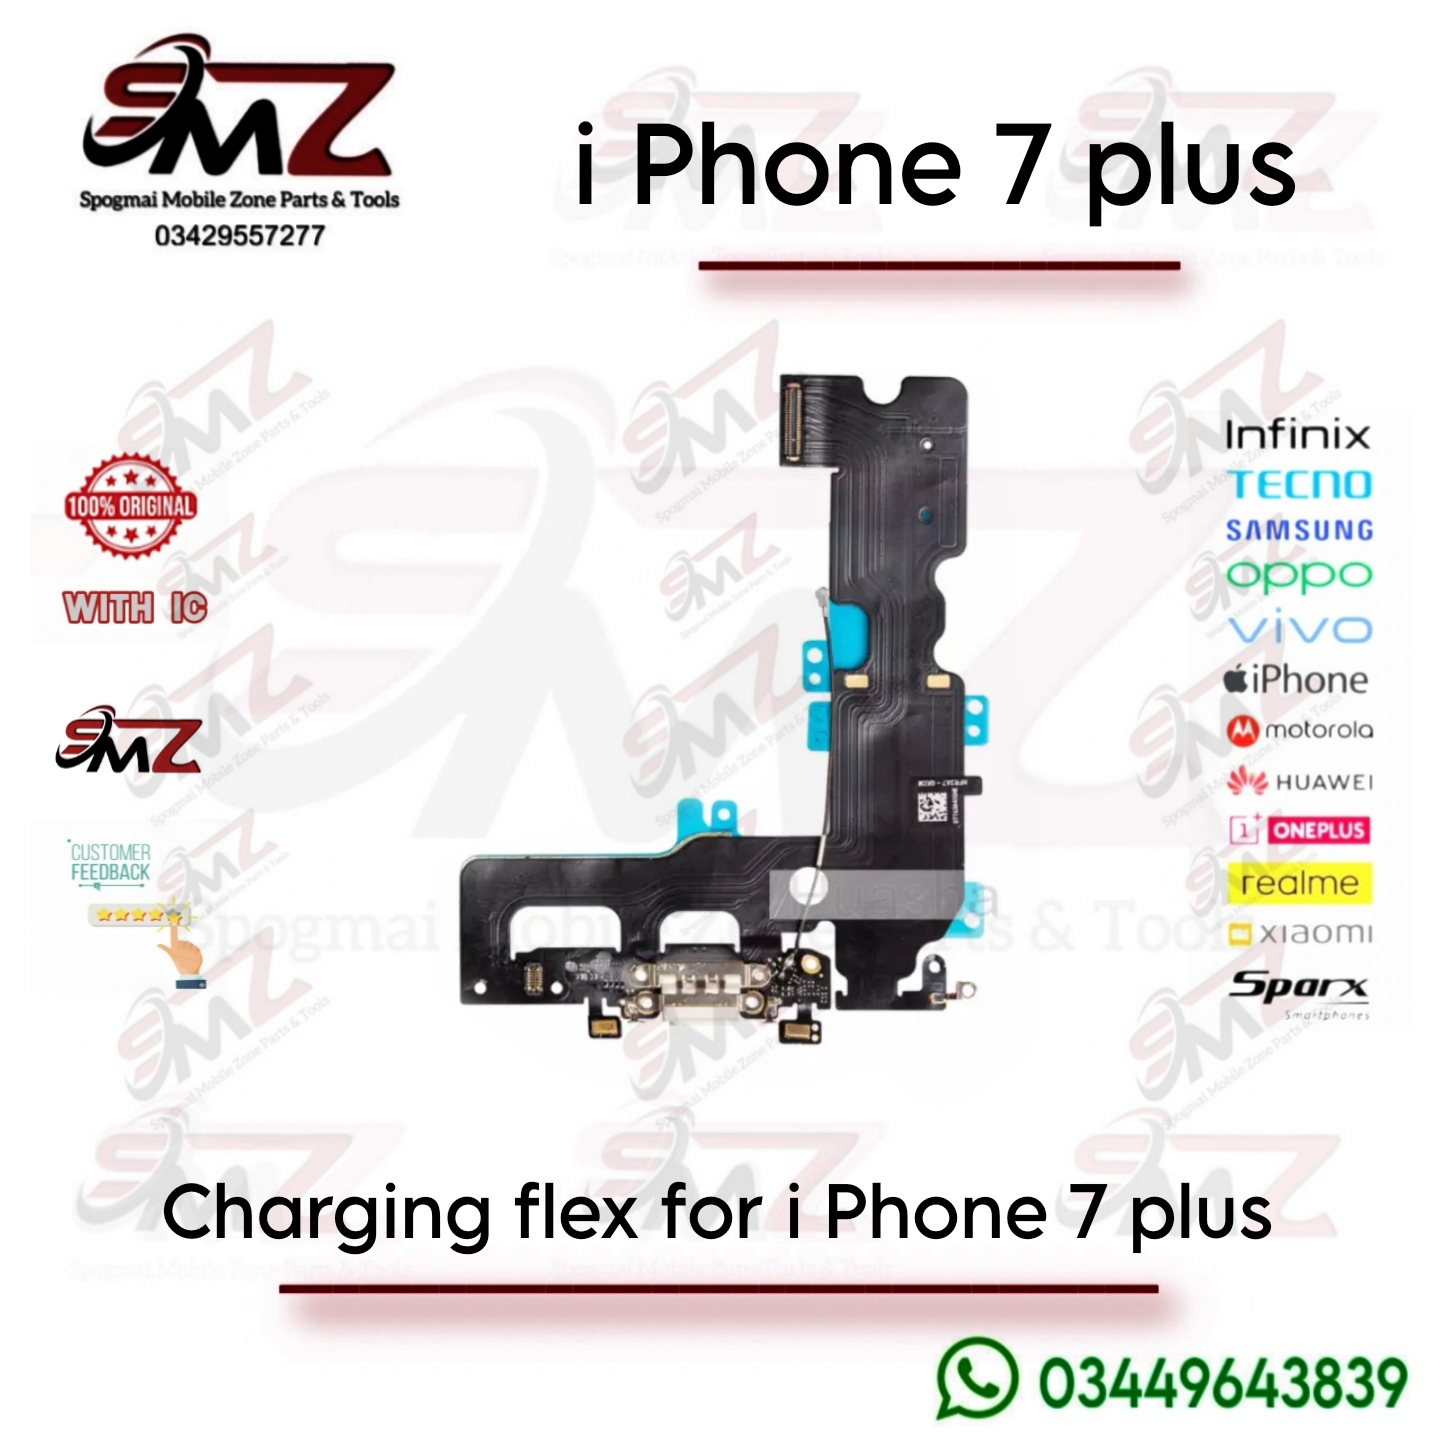
The assembly houses four critical functional elements:
-
- Lightning Port: Manages battery charging, stable power delivery, and high-speed data sync/computer connectivity.
- Dual Bottom Microphones: Captures low-level ambient audio, voice commands, and main cellular call audio.
- Cellular Signal Antenna Path: Routes network signals and cellular connectivity through to the logic board.
- Taptic Engine & Audio Routing Circuitry: Bridging connections that handle lower speaker contacts and audio routing path.
2. Common Symptoms of a Failing Flex
If this component is damaged, torn, or suffering from corroded pins, you will notice one or more of these issues:
-
- The phone fails to charge, charges incredibly slowly, or only charges at a specific angle.
- The device is completely unrecognized by computers during data transfers or iTunes restores.
- People cannot hear you during normal phone calls, or voice memos record completely silent audio.
- Dropping cellular signals, “No Service” errors, or weak network bars (even if your baseband chip on the motherboard is fine).
3. Specifications & Hardware Compatibility
-
- Apple Part Number: Commonly indexed as 821-00276.
- Model Compatibility: Compatible across all global variants of the device: A1661, A1784, and A1785.
- Color-Matching: The replacement parts are color-matched to the phone’s charging port trim (e.g., Space Grey/Black, Silver/White, Gold, Rose Gold).
- Preparation: Drain the battery under 25% to prevent thermal runaway if punctured. Unscrew the two bottom P2 Pentalobe screws.
- Display Removal: Heat the perimeter and slice the adhesive tape. Open the screen carefully like a book to the right side (do not exceed 15 degrees or pull, otherwise you risk tearing the display/home button cables).
- Component Clearance: Disconnect the battery first. You must unscrew and completely remove the Loudspeaker and the Taptic Engine.
- Logic Board Shift: Because the tail of the ribbon cable feeds under the logic board, technicians must either entirely remove the motherboard or carefully unscrew the lower motherboard standoff studs to lift it out of the way.
- Adhesive Release: Isopropyl alcohol or mild heat from a heat gun is used to soften the heavy adhesive holding down the microphone modules and the base flex ribbon before prying.
- Transfer: The rubber microphone mesh gaskets/covers from the original part must be transferred to the new flex to ensure pristine sound quality.
Reviews
There are no reviews yet.