

Hardware Specifications
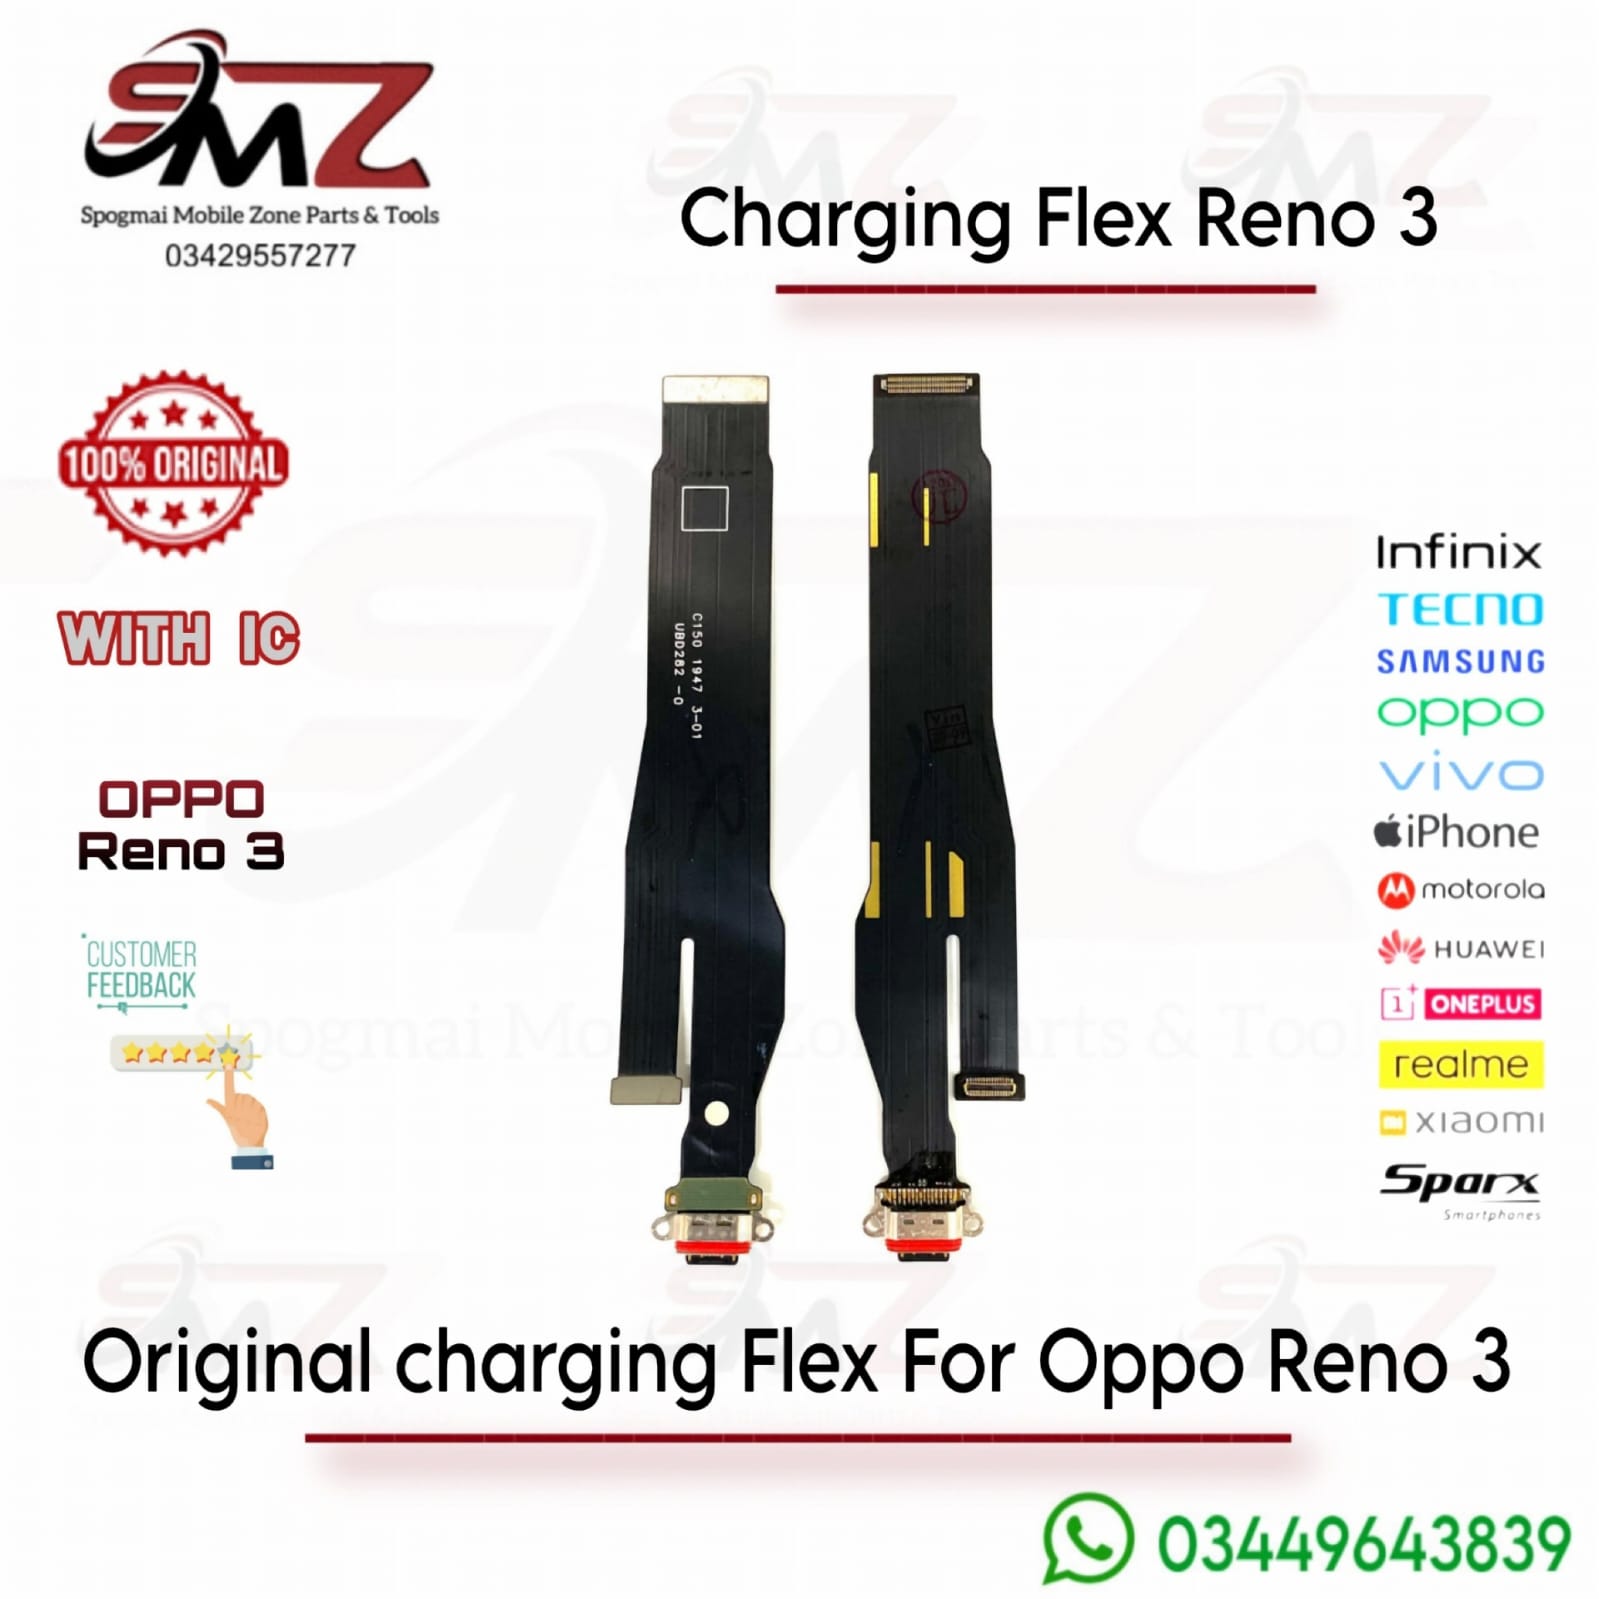
- Compatibility: Ensure you select the exact variant, as the OPPO Reno 3 (4G), OPPO Reno 3 (5G), and OPPO Reno 3 Pro use slightly different flex cable layouts.
- Integrated Components: Contains the USB Type-C port interface, microphone module, and signal coaxial cable connectors.
- Charging Standard: Restores native support for VOOC Flash Charge protocols.
Overview of the Replacement Process
Replacing the charging flex requires intermediate DIY repair skills and specialized tools (heat gun, guitar picks, Phillips screwdriver, and electronics adhesive).
- Remove Back Cover: Apply heat around the perimeter of the rear glass to soften the factory adhesive, then use a suction cup and thin plastic pry tools to lift the back cover.
- Remove Protective Brackets: Unscrew the lower loudspeaker assembly cover to expose the bottom sub-board.
- Disconnect the Old Flex: Unplug the battery connector first for safety. Disconnect the main motherboard connection ribbon, the antenna coaxial cable, and unscrew the charging board.
- Install the New Board: Drop the replacement charging flex board into place, snap the connectors firmly into their sockets, and reassemble the speaker bracket.
- Reseal the Phone: Clear away old adhesive, apply fresh electronics glue (such as T-7000 or B-7000), and clamp the back cover back down firmly.



Reviews
There are no reviews yet.