

1. Basic Power Check
- Symptom: The LCD screen remains blank or displays a low battery icon.
- Fix: Remove the outer protective rubber sleeve. Unscrew the back cover screws and separate the casing. Replace the standard 9V battery with a fresh one. If the device still won’t boot, spray a tiny amount of electronic contact cleaner (or isopropyl alcohol) directly into the physical power push-button switch and toggle it repeatedly to clear out accumulated carbon dust.
2. Blown Protection Fuses
- Symptom: The meter turns on and measures voltage fine, but reads zero or error when measuring current (mA or A ranges).
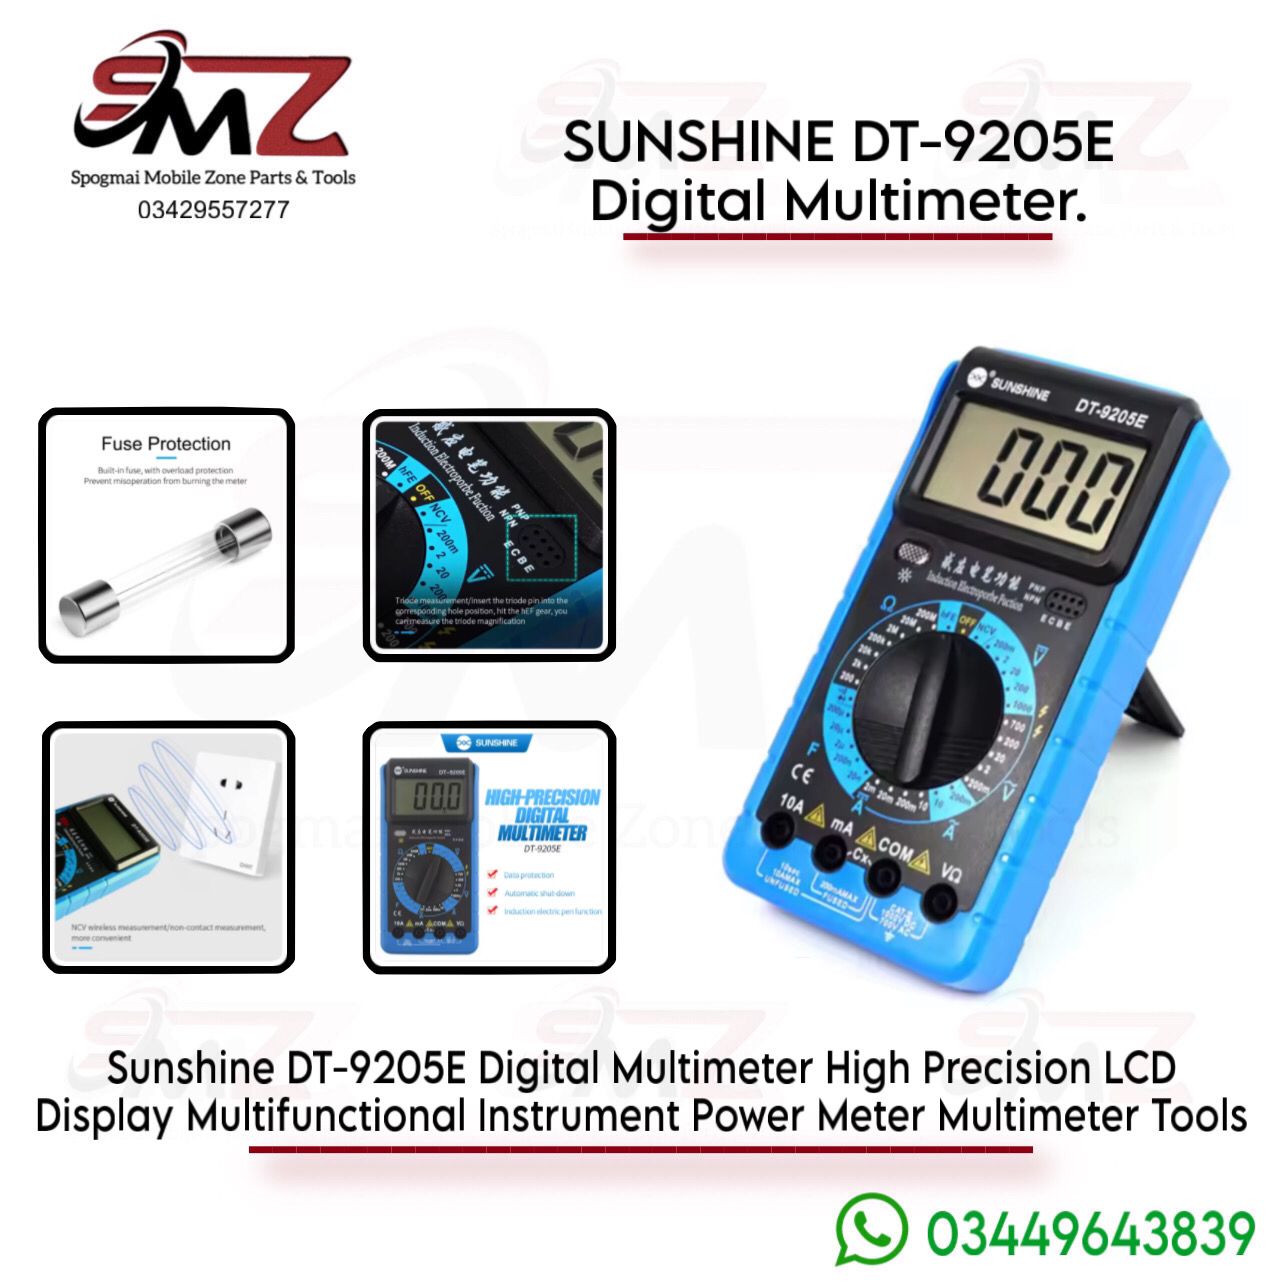
- Fix: Locate the internal glass cylindrical fuses resting on the motherboard. The DT-9205E utilizes overload protection fuses to safeguard its internal components from high-current mistakes. Gently pop out the damaged fuse and install an identical replacement matching its exact voltage and amperage rating (typically a fast-acting 200mA or 10A ceramic/glass fuse depending on the path that blew).
3. Fluctuating or Dead Readings (Rotary Switch Alignment)
- Symptom: Readings change wildly when you touch the dial, or specific dial zones (like resistance or continuity) stop responding entirely.
- Fix: Unscrew the internal main circuit board to access the underside of the central dial selector. You will find small, spring-loaded copper metal contact fingers attached to the plastic dial knob.
- Clean the concentric copper tracking pads on the PCB using a cotton swab dipped in pure alcohol to remove oxidized grease.
- Inspect the metal contact leaves. If they are bent flat, use fine tweezers to gently bend them upwards slightly so they exert firm pressure against the board tracks.
- Ensure the tiny internal metal detent balls and springs do not pop out during reassembly.
4. Broken Screen Segments (Faded Display)
- Symptom: The numbers on the LCD screen are missing lines or have completely faded away.
- Fix: This is almost always caused by a loose elastomeric zebra connector strip connecting the glass LCD to the motherboard. Unscrew the LCD display frame bracket. Clean both the edge of the glass screen and the corresponding gold board fingers with alcohol. Re-seat the zebra strip uniformly and tighten down the mounting frame screws securely to apply even pressure across the contact array.
5. SMD Component and Transistor Level Failures
- Symptom: The device behaves abnormally on all ranges or lets out a “burnt electronic” smell.
- Fix: Visually inspect the surface-mount components under a magnifying glass. The Sunshine DT-9205E motherboard heavily features specific SMD transistors acting as circuit clamps:
- Look for the J3 (NPN S9013 type) and M6 (PNP S9015 type) transistors positioned next to the main integrated chip.
- Look for the dual-diode component labeled C3.
- If any of these small 3-pin packages show scorch marks, cracked casings, or short-circuit continuity across all pins, desolder them and replace them using a fine-tipped soldering iron.




Reviews
There are no reviews yet.